Managing Form Recipients
Overview
This article is intended to describe the various options to set who receives the Sent Form email (typically with attached PDF) when a Form is sent from a device.
Setting Mandatory Recipients (in the Portal)
After you've published a Form to the Portal, you can add Mandatory Recipients who will receive the Sent Form Email each time that Form is submitted.
1. Log in to the Field2Base Portal
2. Navigate to Admin > Form Templates
3. Click on the Select an Action button next to the Form you want to edit Recipients for
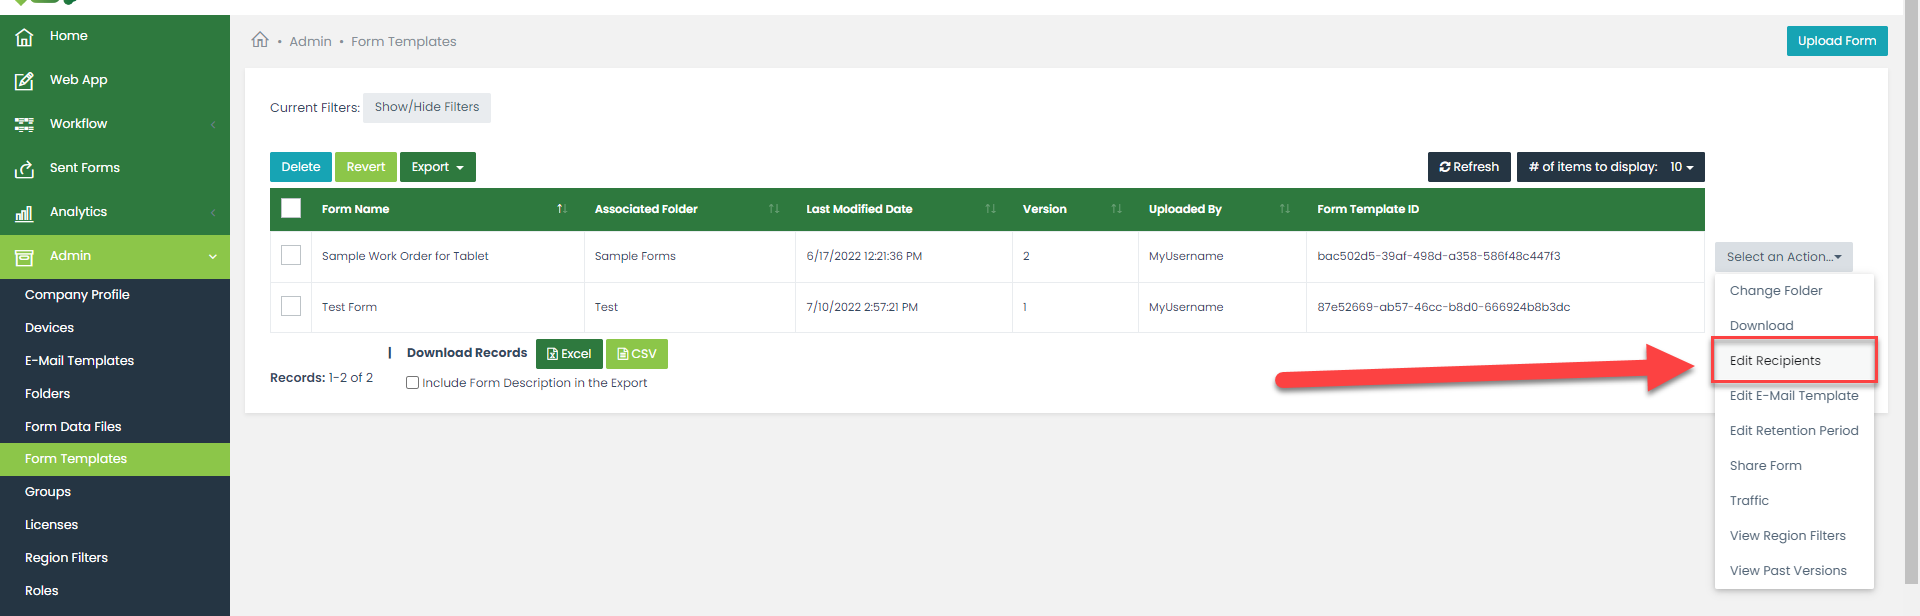
4. Select Edit Recipients from the drop-down
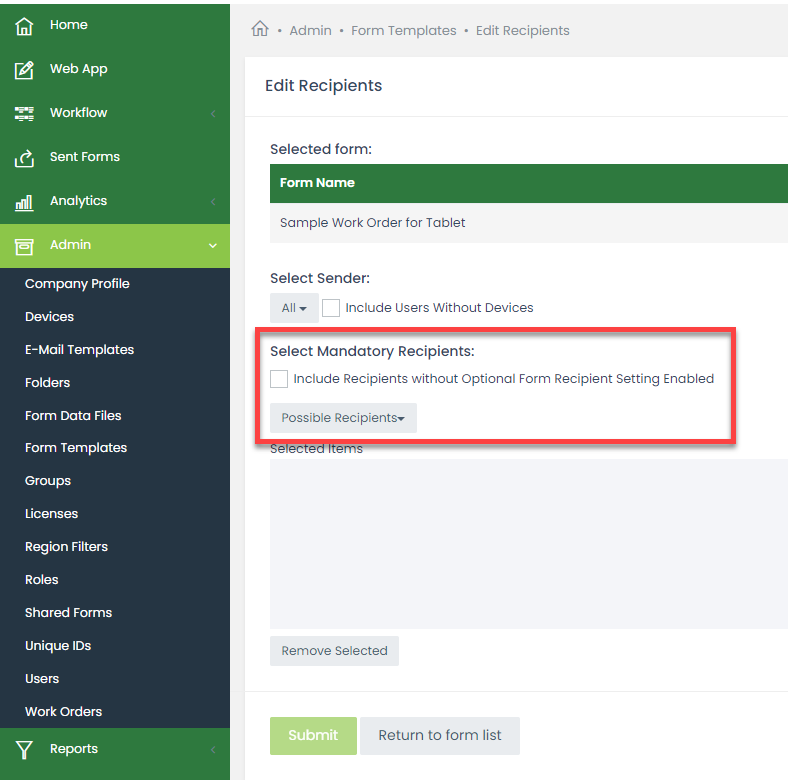
5. On the Edit Recipients page, you can use the Select Sender button to:
- Select All Users to apply the same mandatory sending rule to everyone that sends Forms for your Company (default)
- Select an individual User that has separate sending preferences from other Users
6. Use the Select Mandatory Recipients Drop Down Button to select one or several recipients.
6. This should populate a list of selected Recipients in the box below. To remove Recipients from the box, click their name to highlight them, then click the Remove Selected Button
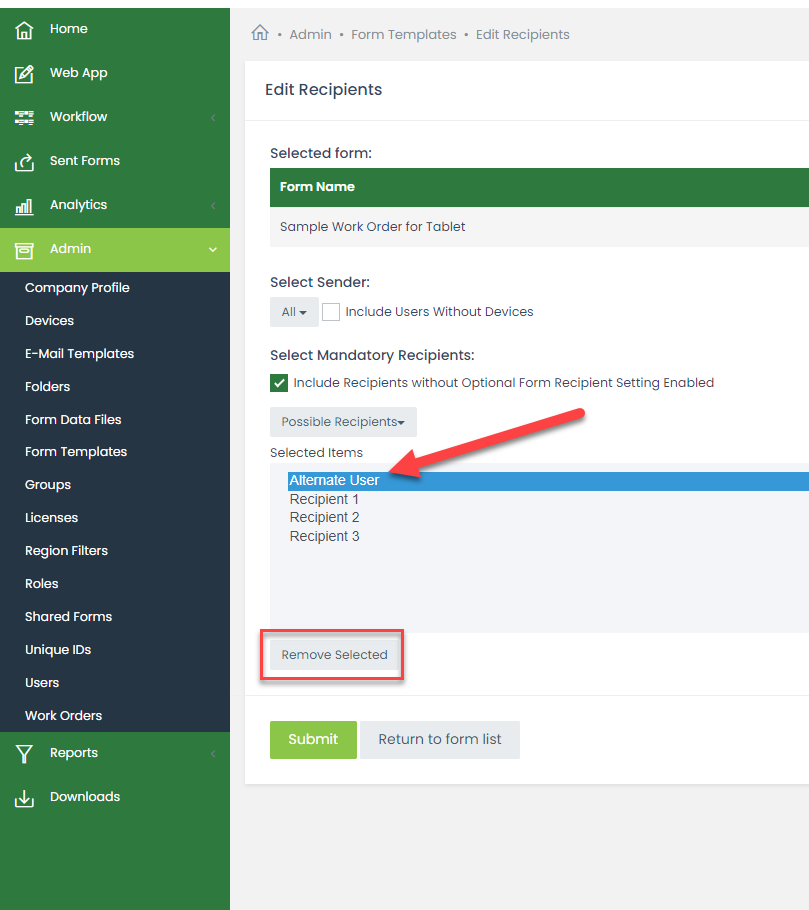
7. Click Submit to finalize changes, or Return to Form List to discard changes.
Recipient Options (in Forms Designer)
As part of your form design, you have the ability to control the recipients that end users can select to email a PDF of a Form when they send it. The default setting in Forms Designer is to always allow choosing Optional Recipients when sending a Form and to allow new recipient emails to be manually added. The list of Optional Recipients includes all Users who have access to the respective Folder and who are enabled as Optional Recipients in their User Profile (see the article on Managing Users and Recipients for details on User Profiles).
Changing Recipient Options
1. Open your form in Forms Designer.
2. Click on the Form tab on the menu ribbon at the top of the screen.
3. Click on Recipients to open the Recipient Options.
A. Always - User can always select optional recipients when they send in a form (default)B. Never - User will not get the Recipient screen during form sending. If this option is selected, the option to allow the User to enter an email manually will not be available.C. When there aren't any automatic recipients - User will only get the optional recipient screen when there are no Mandatory Recipients through the Portal (see section above on Setting Mandatory Recipients for more details)D. Let tablet users send this form to any e-mail address - User can manually enter an email for a recipient that is outside of the Field2Base Portal.

Note: The checkbox for "Let tablet users send this form to any e-mail address" is checked by default. If you do not want your Users to manually enter email addresses to send a form to, you will need to uncheck this box.
Using E-mail Regions to Set Recipients
You can also use E-mail Regions to include recipients for a Form during form design using Forms Designer. E-mail Regions contain an option to automatically send the Sent Form e-mail to the e-mail address entered into the Region. This option is found in the Region Properties for E-mail Regions. For more information on Email Regions, see the Email Regions video or the Region Types article.
Popular Articles
SQL Datasource Regions
Overview This article describes how to set up a SQL Datasource Region in Forms Designer. A SQL Datasource allows you to pull data from external Form Data Files into your Form. This is a convenient option when you need to make updates on a regular ...Mobile Forms iOS Install Via the Apple App Store
Tutorial Video A tutorial video is also available and covers most of this material if you prefer to watch an overview of how to install the app. Accessing the Apple App Store There should be an icon for the Apple App Store on the home screen of your ...Forms Designer Quick Start Guide
Overview Field2Base Forms Designer is the proprietary software application that allows your existing paper forms to be quickly converted to a smart E-form available to your end users via our mobile and web-based Mobile Forms applications. This ...Portal 11.28.2023 Release Notes
Overview Our release notes offer brief descriptions of product enhancements and bug fixes. We include links to the current articles for any affected features. Those articles will be updated shortly after the Portal release to include new ...Integration Service Configuration Guide
How To Configure Integration Services To Allow Read/Write Access on a Network Path All of our Integration Products, including the DIM, DUU, and EDM have respective Windows Services responsible for communicating with our server. Occassionally, ...